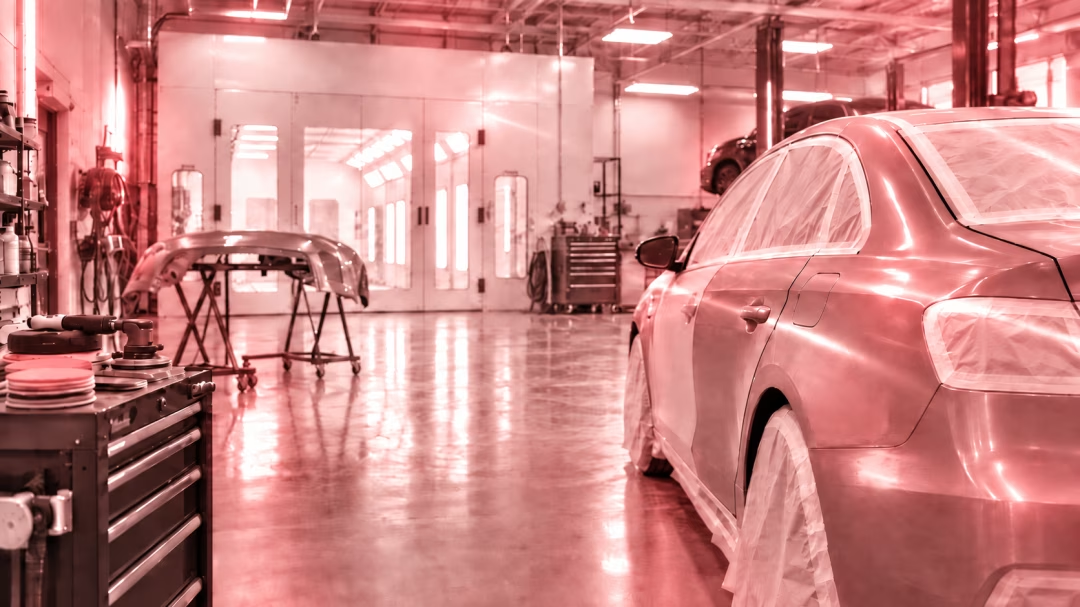
There is nothing quite like the deep, flawless gloss of a fresh paint job. Whether you have had a complete repaint after a collision repair or a single panel touched up, that perfect finish is something to be proud of. However, new paint is incredibly delicate during its initial curing period. The clear coat and underlying layers are still hardening and releasing solvents, making them vulnerable to scratches, swirls, and chemical damage. Washing your vehicle too soon or with the wrong technique can undo the beautiful work you have just invested in. Protecting that finish requires patience and a specific approach. This guide will walk you through the essential steps and timing for the first wash, ensuring you know how to safely clean your freshly painted car and preserve its brilliant shine for years to come. Proper early care is the foundation for long-term paint health and value.
Properly caring for your vehicle's new paint is not just about aesthetics; it is about protecting your investment. The first 30 to 90 days are the most critical, as the paint cures and achieves its final hardness. By following a gentle, methodical washing process and avoiding harsh chemicals or automated washes, you give the paint the best possible start. This careful approach prevents premature damage and ensures the finish remains as stunning as the day you picked it up from the shop. Learn more about the professional techniques that protect your car's value and appearance.
Before you even think about reaching for a bucket and sponge, it is crucial to understand what is happening to your vehicle's new paint. A fresh paint job is not simply "dry" when you drive it home; it is actively "curing." Curing is a chemical process where the paint's solvents evaporate, and its molecules cross-link to form a hard, durable, and protective shell. This process can take anywhere from 30 to 90 days, depending on the type of paint used, the number of layers, and environmental factors like temperature and humidity. To learn more about the duration, check out our guide on how long a full vehicle repaint take. During this time, the paint is soft and porous. Exposing it to harsh chemicals, abrasive materials, or even some types of wax can trap these evaporating solvents, hindering the curing process and potentially causing permanent imperfections.
Patience is your most important tool. The golden rule is to wait at least 30 days before performing the first hand wash. Always consult with the body shop that performed the work, as they will provide the most accurate timeline based on the specific products they used. Washing prematurely, especially with aggressive methods, can easily create fine scratches and swirl marks that will dull the finish. The goal is to allow the paint to achieve a significant level of hardness before you physically touch it with any cleaning media. If your car gets dirty from light dust or pollen during this waiting period, it is better to leave it than to risk washing it. The only exception is for aggressive contaminants like bird droppings or tree sap, which should be removed immediately with a soft, damp microfiber cloth and a gentle blotting motion.
When the time is right, having the proper supplies is non-negotiable. Using old rags or dish soap will ruin a new finish instantly. Invest in high-quality materials to protect your paint.
Follow these steps precisely for a scratch-free wash that protects your investment.
1. Location, Location, Location: Always wash your car in a shaded area, out of direct sunlight. Sun and heat can cause soap and water to dry prematurely, leaving stubborn spots and streaks that are difficult to remove. An ideal time is early in the morning or later in the evening when the panels are cool to the touch.
2. The Gentle Pre-Rinse: Before any soap touches the car, give the entire vehicle a thorough but gentle rinse with your hose. Start from the top and work your way down. The goal is to let the water do the initial work of loosening and removing as much surface dust, dirt, and debris as possible. This reduces the amount of grit you will have to touch with your wash mitt.
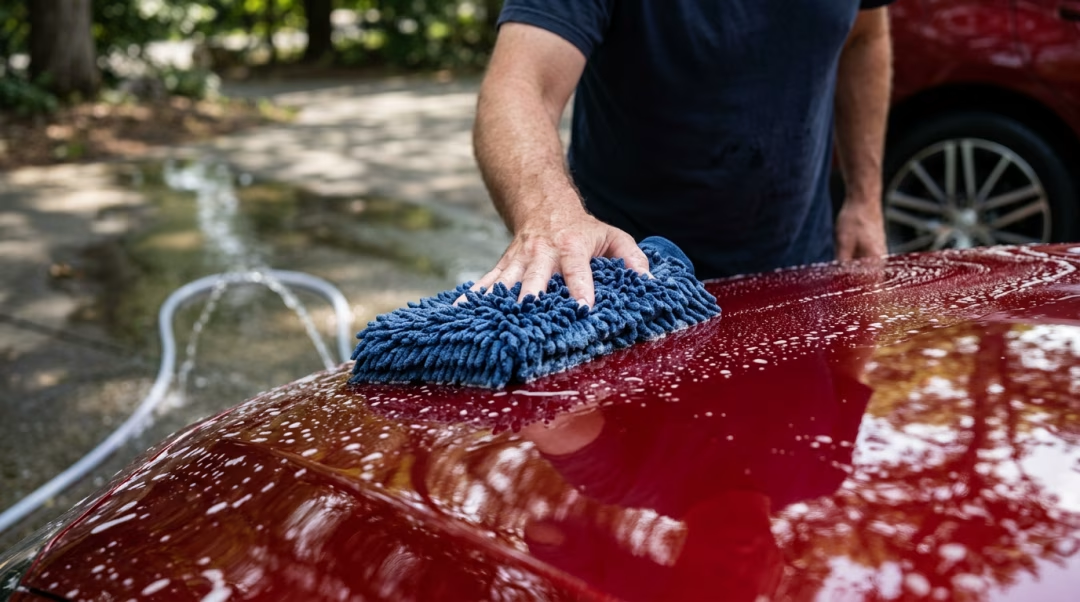
3. Master the Two-Bucket Method: Fill one bucket with your pH-neutral car soap and water solution. Fill the second bucket with plain water for rinsing. Dunk your clean microfiber mitt into the soapy water first. Wash a small section of the car, such as half the roof or one door panel.
4. The Critical Rinse and Reload: Before putting your mitt back into the soapy water, dunk it into the plain water rinse bucket. Swirl it around and rub it against the grit guard at the bottom. This action releases the dirt and contaminants from the mitt into the rinse bucket. Now, your mitt is clean and ready to be reloaded with fresh soap for the next panel. This simple process is the single most effective way to prevent swirl marks.
5. Technique is Key: Wash the vehicle from the top down, saving the dirtiest parts (lower panels, bumpers, and wheels) for last. Use light pressure and wash in straight, overlapping lines—never in circular motions. Circular washing motions are the primary cause of swirl marks. Let the soap and the mitt do the work.
6. The Final Rinse: Once the entire vehicle is washed, rinse it thoroughly from top to bottom. Ensure no soap residue is left behind, especially in panel gaps, around trim, or in mirror housings. You can remove the nozzle from the hose for the final rinse and let the water flow in a sheet across the panels, which helps reduce the amount of standing water and can make drying easier.
7. Pat, Don't Rub: Drying is just as important as washing. Air drying can lead to stubborn water spots, which are mineral deposits that can etch into soft, fresh paint. Use your clean, plush microfiber drying towels. Lay the towel flat on a panel and gently pat it dry, or slowly drag it across the surface. Avoid aggressive rubbing or wiping motions.
Knowing what not to do is as important as knowing what to do. The following should be avoided at all costs during the entire curing period.
By following this meticulous process, you are not just washing your car—you are preserving the quality and longevity of its new finish. This initial care sets the stage for how your vehicle will look for years to come, protecting its resale value and the pride you feel every time you drive it. For more tips on long-term vehicle care, explore our resources on how to maintain your vehicle after body repair.
You should wait a minimum of 30 days before performing the first hand wash. However, it is always best to ask the collision repair shop for their specific recommendation, as the full curing time can be up to 90 days depending on the paint system they used and the climate.
No, you should absolutely avoid using a pressure washer on a freshly painted vehicle. The high pressure can be too aggressive for the soft, curing paint and could potentially cause it to lift or peel, especially around panel edges. A standard garden hose with a gentle spray nozzle is the safest option.
It is never safe to take a freshly painted car through an automatic car wash, especially those with brushes. The abrasive spinning brushes will cause severe swirl marks and scratches in the soft paint. Even touchless washes use harsh chemicals that can interfere with the curing process. Stick to hand washing only.
You must clean it off immediately. Bird droppings are highly acidic and can quickly etch into fresh paint. Do not scrub it. Instead, place a soft, damp microfiber towel over the spot for a few minutes to soften it. Then, gently lift or blot the dropping away from the surface without applying pressure.
You must wait until the paint is fully cured before applying any wax, sealant, or polish. Applying these products too early can trap solvents that are still trying to escape, which can ruin the paint job. The generally accepted waiting period is 60 to 90 days. Always confirm this timeline with your body shop.