Commercial fleet vehicles are the lifeblood of countless businesses, and any downtime due to damage can significantly impact operations and revenue. Unlike personal cars, repairing a work truck, cargo van, or specialty vehicle involves a highly specialized process designed to restore not just its appearance, but its structural integrity and functional reliability. The repair journey for these workhorses is meticulous, addressing everything from heavy-duty frame damage to the precise reapplication of company branding. Understanding this comprehensive process is crucial for fleet managers who need to get their assets back on the road safely and for savvy buyers looking for dependable vehicles in our used commercial inventory. A properly executed repair ensures the vehicle can withstand the rigors of daily commercial use, protecting your investment and maintaining its value for years to come. It’s a transformation from a damaged unit into a fully recommissioned, road-ready asset.
The goal of any commercial vehicle repair extends far beyond a simple cosmetic touch-up. It is a comprehensive restoration focused on safety, durability, and operational readiness. Technicians must address the unique demands placed on these vehicles, from reinforced frames that carry heavy loads to complex electrical systems powering specialized equipment. A quality repair process ensures all safety systems, such as advanced driver-assistance systems (ADAS), are perfectly recalibrated. This commitment to detail guarantees that when a vehicle returns to service, it performs exactly as the manufacturer intended.
When a commercial vehicle sustains damage, the path back to service is more intricate and demanding than that for a standard passenger car. These vehicles are essential business tools, and their repairs must prioritize longevity, safety, and minimal downtime. The process is a blend of advanced technology, specialized skills, and a deep understanding of commercial vehicle architecture. From the initial assessment to the final quality check, every step is critical in ensuring the vehicle is not just fixed, but fully restored to its pre-accident condition and ready to handle the demands of the job.
The moment a damaged fleet vehicle arrives at a repair facility, the first step is a thorough and systematic assessment. This goes far beyond a quick visual once-over. Technicians begin with a detailed pre-repair damage inspection, documenting every visible scuff, dent, and broken component. However, the most critical part of this stage is identifying hidden damage. Using advanced diagnostic scanning tools, technicians can check for electronic faults, sensor misalignments, and issues within the vehicle’s complex network of modules that may not be immediately apparent. This initial electronic health scan provides a baseline and reveals problems that could affect safety systems, engine performance, or onboard equipment. This meticulous evaluation is the foundation for creating an accurate and complete repair plan.
Once the initial assessment is complete, the vehicle moves into the blueprinting phase. This involves carefully disassembling the damaged areas to uncover the full extent of the impact. Removing bumpers, fenders, lights, and interior trim often reveals underlying structural issues or damaged components that were not visible during the initial inspection. As each part is removed, it is cataloged, and any additional damage is added to the repair plan. This "discovery" process is essential for commercial vehicles, as a seemingly minor fender bender could have caused subtle bends in frame cross-members or damaged mounting points for specialized upfit equipment. A detailed blueprint ensures that all necessary parts are ordered at once and that the repair team has a complete roadmap, minimizing delays and supplemental requests down the line.
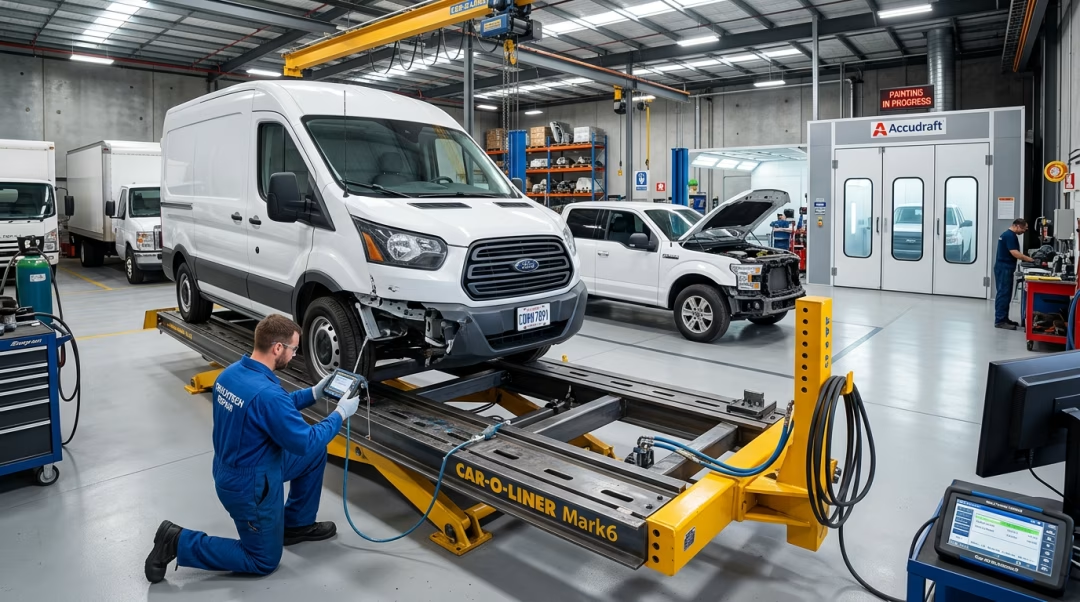
The chassis or frame is the backbone of any commercial vehicle, responsible for carrying heavy loads and providing structural rigidity. If the assessment reveals frame damage, its repair is the highest priority. Repair facilities use sophisticated frame straightening machines, or "racks," that can exert controlled pulling and pushing forces with extreme precision. Technicians use computerized measuring systems that compare the vehicle’s frame to the original manufacturer's specifications down to the millimeter. The goal of frame straightening is to restore all control points to their exact factory locations. This is not just about making the panels fit; it is a critical safety procedure that ensures proper wheel alignment, correct suspension geometry, and the reliable performance of the vehicle under load. For more information, read our guide on the signs your vehicle needs structural frame repair.
With the structure corrected, attention turns to the body panels. Technicians determine whether a panel can be repaired or if it needs to be replaced. Minor dents on steel or aluminum may be fixed using techniques like paintless dent repair or traditional hammer-and-dolly methods with skim coats of body filler. However, for significant damage, panel replacement is often the better choice to ensure a factory-quality finish and proper fit. This stage is particularly complex for commercial vehicles with custom service bodies, box enclosures, or ladder racks. Technicians must not only repair the vehicle itself but also ensure that all upfit equipment is properly removed, repaired, and reinstalled, maintaining its functionality and secure attachment.
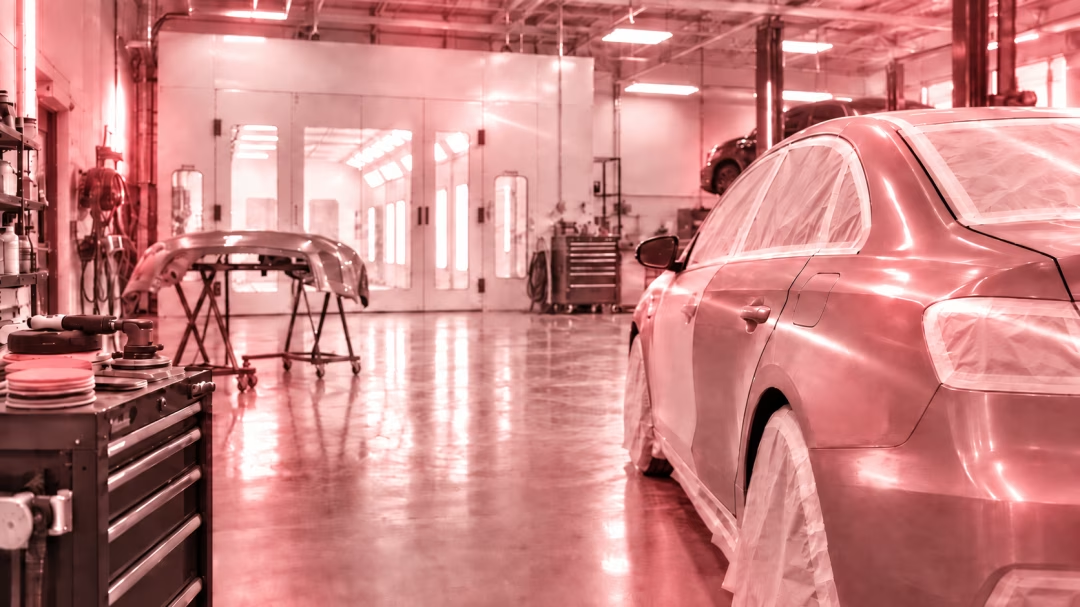
The refinishing stage is where the vehicle's appearance is fully restored. The process begins with extensive surface preparation to ensure the new paint will adhere properly and last for years. This includes sanding, applying corrosion-resistant primers, and sealing the surface. Using advanced color matching technology, painters can perfectly replicate the vehicle’s original factory color. Multiple coats of base color and a durable clear coat are applied in a controlled-environment paint booth to protect the finish from UV rays, chemicals, and the elements. For fleet vehicles, this stage often concludes with the reapplication of company logos, lettering, or full vinyl wraps, ensuring the vehicle returns to service as a professional representative of the business.
In the final stages, the vehicle is carefully reassembled. Technicians install the repaired and new parts, ensuring precise panel gaps and alignment. This is followed by one of the most crucial modern repair steps: ADAS calibration. Any repair that involves removing a bumper, windshield, or side mirror can affect the sensors and cameras that control systems like automatic emergency braking, lane-keeping assist, and blind-spot monitoring. Technicians must recalibrate these systems to ensure they function correctly. The process concludes with a rigorous post-repair inspection. This includes a test drive, a final diagnostic scan, and a thorough quality control check to verify that every aspect of the repair meets the highest standards of safety and workmanship.
Fleet vehicle repair is more complex due to their heavy-duty construction, specialized equipment, and the critical need to minimize downtime. Repairs often involve stronger frame materials, commercial-grade components, and the need to address integrated upfitting like shelving or utility bodies. The focus is not just on aesthetics but on ensuring the vehicle can safely return to a demanding work environment.
Yes, recycled or remanufactured parts can be an option, particularly for older vehicles or when managing repair costs is a priority. However, the decision depends on insurance guidelines and company policy. For critical safety components like suspension or airbags, new OEM parts are almost always used. The primary goal is always to ensure a safe and durable repair.
Frame damage on a work truck is repaired using a computerized frame straightening rack. This powerful equipment uses hydraulic force to pull and push the frame back into its precise factory specifications. Laser measurement systems are used throughout the process to monitor progress and ensure every structural point is aligned to within a millimeter of its original position, restoring the vehicle's integrity.
If a panel with branding is damaged, the wrap or decal is typically removed to perform the repair. After the panel is repaired and repainted, new graphics are applied. Reputable shops work with graphics companies to ensure the branding is perfectly matched and reapplied, so the vehicle looks seamless and professional upon its return.
Advanced Driver-Assistance Systems (ADAS) are critical for the safety of fleet drivers and the public. A minor collision or even a simple part replacement can knock sensors and cameras out of alignment. Recalibration ensures that safety features like forward collision warning and automatic emergency braking work correctly, reducing the risk of future accidents and liability for the business.